
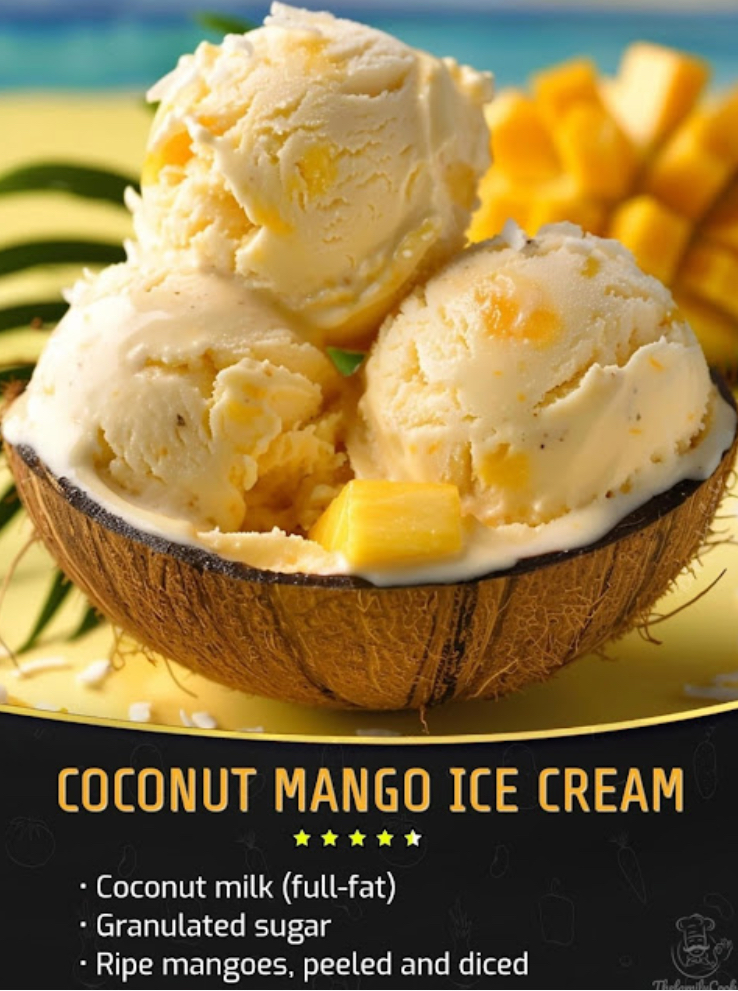
This Coconut Mango Ice Cream is a tropical paradise in every bite—a creamy, refreshing treat that combines the rich sweetness of coconut with the vibrant tang of mango. Whether you’re dreaming of sunny beaches or just craving something cool and delicious, this homemade ice cream recipe will transport your taste buds straight to island vibes! Let’s dive into the details.
Why You’ll Love This Recipe
- Tropical Flavors : The perfect blend of juicy mango and nutty coconut creates an irresistible combination.
- Easy to Make : With just a few simple steps, you can whip up this creamy dessert at home.
- Customizable : Adjust sweetness, add chunks of fresh mango, or incorporate toasted coconut for extra texture.
- Perfect for Summer : Light, fruity, and indulgent—this ice cream is ideal for warm weather or anytime you need a pick-me-up.
Ingredients (Makes About 1 Quart)
For the Base:
- 2 cups full-fat coconut milk (canned)
- 1 cup heavy cream
- ½ cup granulated sugar (adjust to taste)
- 1 tbsp vanilla extract
- Zest of 1 lime (optional, for brightness)
- Pinch of salt
For the Mango Flavor:
- 1 cup ripe mango puree (from about 1–2 mangoes, depending on size)
- 1 tsp mango extract (optional, for enhanced flavor)
Optional Add-Ins:
- ¼ cup shredded unsweetened coconut (toasted for added crunch)
- Chunks of fresh mango for a fruit-filled surprise
Instructions
Step 1: Prepare the Mango Puree
- Peel and pit 1–2 ripe mangoes. Blend the flesh in a food processor or blender until smooth.
- Set aside 1 cup of puree for the ice cream base. Reserve any leftover puree for garnish or another use.
Step 2: Make the Ice Cream Base
- In a medium saucepan, combine the coconut milk, heavy cream, sugar, and pinch of salt. Heat over medium heat, stirring occasionally, until the mixture begins to steam but does not boil.
- Remove from heat and stir in the vanilla extract, lime zest (if using), and mango puree. Allow the mixture to cool completely at room temperature, then refrigerate for at least 2 hours—or overnight—for optimal churning results.
Step 3: Churn the Ice Cream
- Once chilled, pour the mixture into your ice cream maker and churn according to the manufacturer’s instructions (usually 20–25 minutes).
- During the last few minutes of churning, add shredded coconut or mango chunks if desired.
Step 4: Freeze
- Transfer the churned ice cream to an airtight container and freeze for at least 2 hours to firm up.
- If adding mango extract, swirl it gently into the ice cream before freezing for an extra burst of flavor.
Step 5: Serve
- Scoop generously into bowls or cones and top with additional shredded coconut, fresh mango slices, or a drizzle of honey for extra decadence.
Tips for Success
- Use Ripe Mangoes : Overripe mangoes are sweeter and juicier, making them perfect for pureeing.
- Toast the Coconut : Toasting shredded coconut enhances its flavor and adds delightful crunch to each bite.
- Adjust Sweetness : Start with less sugar and adjust based on the natural sweetness of your mangoes.
- No Ice Cream Maker? No Problem! : Pour the chilled base into a shallow dish, freeze for 1 hour, then stir every 30 minutes until frozen and smooth.
Variations to Try
- Piña Colada Twist : Add ¼ cup pineapple juice or puree for a piña colada-inspired version.
- Chocolate Chips : Fold in mini chocolate chips for a tropical-meets-classic combo.
- Peanut Butter Swirl : Swirl in a tablespoon of creamy peanut butter for a salty-sweet contrast.
- Dairy-Free Option : Replace heavy cream with more coconut milk or coconut cream for a fully plant-based treat.
Conclusion
This Coconut Mango Ice Cream captures the essence of summer in every creamy, fruity bite. With its dreamy texture and bright flavors, it’s sure to become a staple in your dessert rotation. So grab your mangoes, crack open a can of coconut milk, and get ready to enjoy a little slice of paradise—all from the comfort of your kitchen!
Happy scooping—and happy eating!