
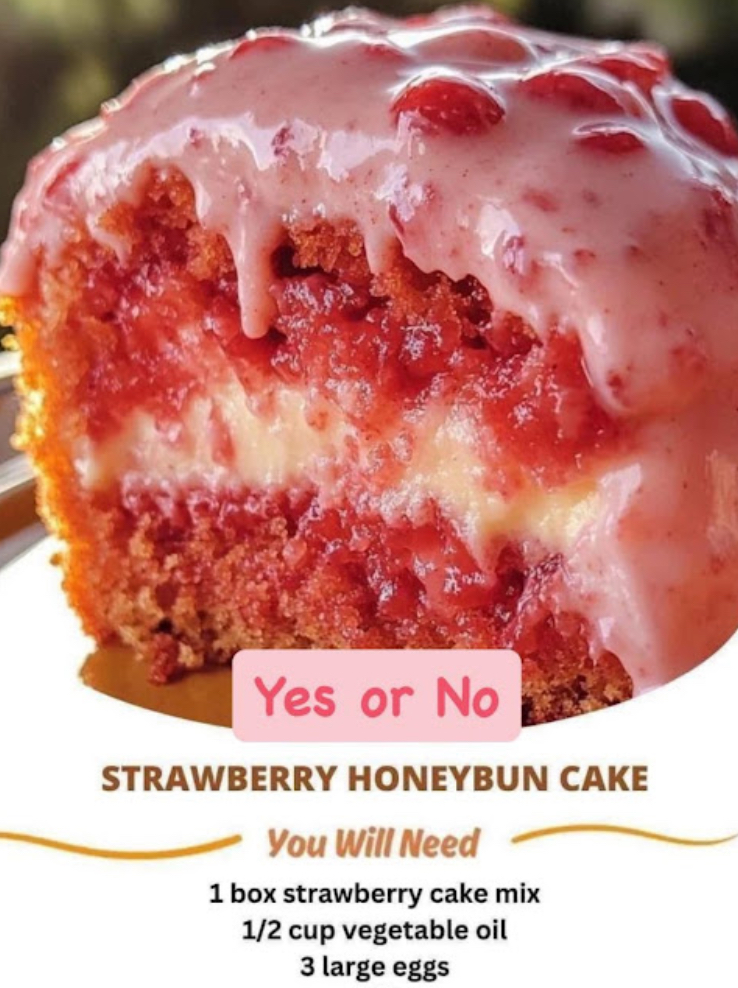
This Strawberry Honeybun Cake is a delightful twist on classic honeybuns, combining the sweet tang of strawberries with the buttery richness of cake. Topped with luscious strawberry cream icing, it’s perfect for birthdays, holidays, or any occasion where you want to impress your guests! Let’s dive into this irresistible recipe.
Why You’ll Love This Recipe
- Easy Prep : Using a store-bought cake mix makes this dessert quick and hassle-free.
- Flavorful Layers : The combination of strawberry cake, honeybun-inspired spices, and creamy icing creates layers of deliciousness.
- Customizable : Swap out the strawberry cake mix for another flavor if desired, or add extra toppings like chopped nuts or coconut flakes.
- Visually Stunning : The vibrant pink icing and tender crumb make this cake a showstopper.
Ingredients
For the Cake:
- 1 box strawberry cake mix
- ½ cup vegetable oil
- 3 large eggs
- 1 cup sour cream
- ½ cup whole milk
- 1 teaspoon vanilla extract
- 1 tablespoon ground cinnamon (optional, for a honeybun kick)
For the Strawberry Cream Icing:
- 1 cup unsalted butter, softened
- 4 cups powdered sugar
- 1 teaspoon vanilla extract
- 2–3 tablespoons whole milk (or half-and-half)
- 1 cup fresh strawberries, pureed (or ¼ cup strawberry jam for convenience)
Instructions
Step 1: Preheat and Prepare
- Preheat your oven to 350°F (175°C). Grease and flour a 9×13-inch baking pan or line it with parchment paper.
Step 2: Mix the Cake Batter
- In a large mixing bowl, combine the strawberry cake mix, vegetable oil, eggs, sour cream, milk, and vanilla extract. Beat with an electric mixer on medium speed until smooth and fully combined (about 2 minutes).
- Stir in the ground cinnamon if using, for that warm honeybun spice note.
Step 3: Bake the Cake
- Pour the batter evenly into the prepared baking pan.
- Bake in the preheated oven for 30–35 minutes, or until a toothpick inserted into the center comes out clean.
- Allow the cake to cool completely in the pan before frosting.
Step 4: Make the Strawberry Cream Icing
- In a medium bowl, beat the softened butter until creamy.
- Gradually add the powdered sugar, one cup at a time, alternating with spoonfuls of milk and vanilla extract. Beat until light and fluffy.
- Fold in the pureed strawberries or strawberry jam for a fruity burst of flavor.
Step 5: Assemble the Cake
- Once the cake has cooled, spread the strawberry cream icing generously over the top, ensuring even coverage.
- Garnish with sliced fresh strawberries or a sprinkle of cinnamon for added flair.
Step 6: Serve and Enjoy!
- Slice the cake into squares and serve immediately. Store leftovers in an airtight container at room temperature for up to 2 days or refrigerate for longer freshness.
Tips for Success
- Don’t Overmix : Stop mixing the batter once all ingredients are incorporated to avoid making the cake dense.
- Puree Fresh Strawberries : For the freshest taste, blend ripe strawberries instead of relying solely on jam.
- Adjust Sweetness : If you prefer less sweetness, reduce the amount of powdered sugar in the icing slightly.
- Add Texture : Sprinkle crushed honey graham crackers over the icing for a nod to traditional honeybuns.
Variations to Try
- Raspberry Twist : Replace the strawberries with raspberries for a tart alternative.
- Nutty Delight : Fold chopped pecans or almonds into the icing for extra crunch.
- Gluten-Free Option : Use a gluten-free strawberry cake mix and ensure all other ingredients are certified gluten-free.
- Vegan Version : Substitute the eggs with flaxseed meal mixed with water (1 tablespoon flaxseed + 3 tablespoons water per egg) and use plant-based butter and milk for the icing.
Conclusion
This Strawberry Honeybun Cake brings together the best of both worlds—cake and pastry—into one mouthwatering creation. With its soft texture, spiced undertones, and dreamy strawberry cream icing, it’s sure to be a hit at any gathering or quiet evening at home. Gather your ingredients, fire up the oven, and get ready to savor every bite of this sweet masterpiece!
Happy baking—and happy eating!