
Who says keeping your jewelry sparkling requires expensive products or trips to the jeweler? With just a few household items, you can create an effective, budget-friendly DIY jewelry cleaner that’ll have your pieces shining like new in no time. Whether it’s dull rings, tarnished necklaces, or cloudy earrings, this quick solution is perfect for maintaining your favorite accessories at home.
Why DIY Jewelry Cleaning Is So Smart
This method isn’t just about saving money—it’s about protecting your precious items while using safe, natural ingredients. Here’s why everyone loves it:
- Affordable Ingredients: Uses common pantry staples like baking soda, vinegar, and dish soap.
- Quick Results: Cleans jewelry in minutes without damaging delicate materials.
- Safe for Most Metals: Gentle enough for gold, silver, copper, and even plated jewelry.
- Eco-Friendly Option: Avoid harsh chemicals and reduce waste with reusable solutions.
- Perfectly Portable: Create a small batch to carry while traveling or store for future use.
What You’ll Need
For the Cleaner:
- 1 cup warm water
- 2 tablespoons white vinegar
- 1 tablespoon baking soda
- 1 drop mild dish soap (like Dawn)
- Optional: Lemon juice or rubbing alcohol for extra shine
Tools:
- Small bowl or jar
- Soft-bristled toothbrush (for scrubbing)
- Cotton swabs or cloth (for polishing)
- Strainer or sieve (to rinse)
Step-by-Step Instructions
1. Mix the Solution
In a small bowl or jar, combine the warm water, white vinegar, and baking soda. Stir until the baking soda dissolves completely. Add a drop of mild dish soap to help break down grease and grime.
If you want extra sparkle, add a teaspoon of lemon juice or rubbing alcohol to the mixture.
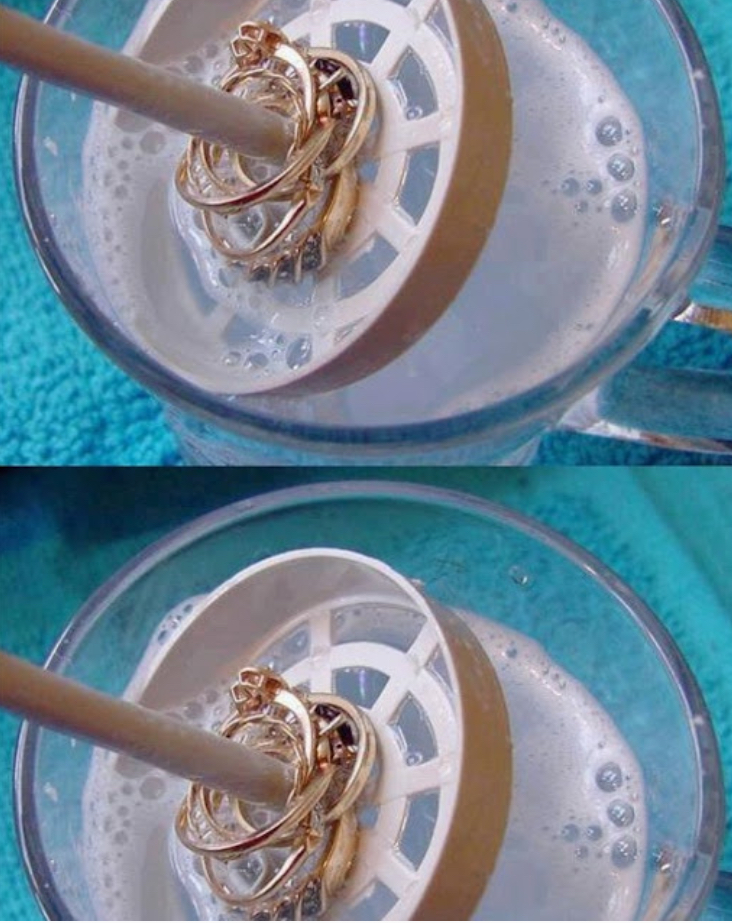
2. Submerge Your Jewelry
Place your jewelry pieces into the cleaning solution, ensuring they’re fully submerged. Let them soak for 10–15 minutes. For heavily tarnished items, extend the soaking time to 30 minutes.
Note: Avoid using this method on pearls, opals, or other porous stones, as they may absorb liquids and become damaged.
3. Scrub Gently
Using a soft-bristled toothbrush, gently scrub each piece of jewelry to remove dirt and grime. Pay special attention to crevices where buildup tends to accumulate.
4. Rinse Thoroughly
Strain the jewelry from the solution and rinse under cool running water. Use cotton swabs to clean hard-to-reach areas if needed.
5. Polish and Dry
Pat your jewelry dry with a soft cloth or let it air dry on a clean towel. For added shine, buff lightly with a polishing cloth designed for metals.
Tips for the Best DIY Jewelry Cleaner
- Test First: Always try the solution on a small, inconspicuous area before cleaning entire pieces.
- Handle Delicate Stones Carefully: Skip soaking gemstone jewelry; instead, wipe gently with a damp cloth and dry immediately.
- Use Warm Water: Helps dissolve baking soda faster and enhances the cleaning power of the solution.
- Avoid Over-Soaking: While soaking helps loosen dirt, prolonged exposure can weaken some metals or damage coatings.
- Store Supplies Together: Keep your cleaning tools handy for regular maintenance—prevention is key!
Why This Method Deserves a Spot in Your Routine
The DIY Jewelry Cleaner isn’t just another hack—it’s a celebration of simplicity and care. By spending a few minutes every week restoring your jewelry’s luster, you extend its lifespan and maintain its beauty. Plus, there’s something incredibly satisfying about watching dull pieces transform back into gleaming treasures.
So gather your favorite kitchen essentials, roll up your sleeves, and get ready to enjoy one of the most delightful cleaning tricks you’ve ever tried. Trust us—once you see the results, you’ll want to make this a regular habit!
Have You Tried It Yet?
Let us know how this recipe turned out for you! Share your thoughts in the comments below or tag us on social media with before-and-after photos of your sparkling jewelry. Happy cleaning, and remember—great care doesn’t have to be complicated!